Home
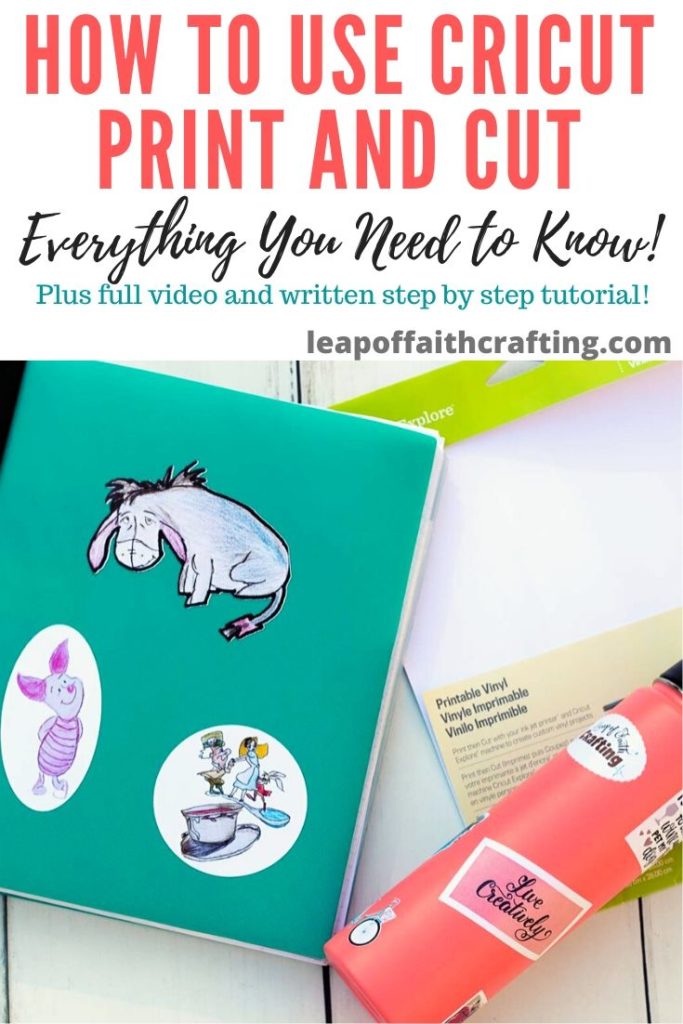
/ How To Use Print And Cut On Cricut - When you format your images for the print and cut feature, you will print your design through cricut design space and then your cricut will cut perfectly around the image or images.
How To Use Print And Cut On Cricut - When you format your images for the print and cut feature, you will print your design through cricut design space and then your cricut will cut perfectly around the image or images.
How To Use Print And Cut On Cricut - When you format your images for the print and cut feature, you will print your design through cricut design space and then your cricut will cut perfectly around the image or images.. Press the cricut logo on the machine to start cutting. Make sure you apply a good amount of pressure so that your design adheres well to the fabric. The cricut joy does not support this feature.; This indicates that the image is for print and cut. There are a lot of amazing options in terms of printables on the market.
This means you absolutely need to have a printer to print things out because your cricut cannot print. You will notice that the registration marks are printed also. Here in cricut design space, we have our design. To add a fill, select print from the fill drop down menu in the top menu bar. To find these, click on images on the left side, type in something you are searching for, and then click filter on the top right and scroll down and check printables.
Cricut Print And Cut Tips And Tricks To Getting Brighter More Vibrant Colors By Pink from by-pink.com Type in 'printable' and printable vinyl will appear. This indicates that the image is for print and cut. If your cricut cuts slightly off, adding a bleed can help. In the panel on the right, you will notice a printer with a red slash through it. (i like to use the blue lightgrip mat for cardstock) and load into your machine as you would when you cut anything else. Place your printed paper on the cutting mat and load into the machine. Cricut is not a printer. Free 5 day master your cricut challenge:
There are a lot of amazing options in terms of printables on the market.
If you do not wish the background shape to print in color, change the color of the shape to white. It's designed for drawing (using a pen), cutting. Press the double arrow button to unload once cutting is complete Place your printed paper on the cutting mat and load into the machine. The maximum image size for print then cut is 9.25 x 6.75 and the default material is 8.5 x 11. How to use print then cut with cricut from start to finish. How to apply the print & cut transfer lay your cut out cactus face down on your cricut easy press mat or a towel and position it how you want it. Print then cut with writing style fonts; There is no need to format it, it is ready to go. This process allows us to print a design on our home ink jet printer, cut around the edge of the image using the cricut, and then adhere to a blank using heat. Make sure you apply a good amount of pressure so that your design adheres well to the fabric. The cricut joy does not support this feature.; Select it and click 'continue'.
What you need for print then cut projects. Select it and click 'continue'. Print then cut with writing style fonts; Printing the writing style fonts on a background shape. If your cricut cuts slightly off, adding a bleed can help.
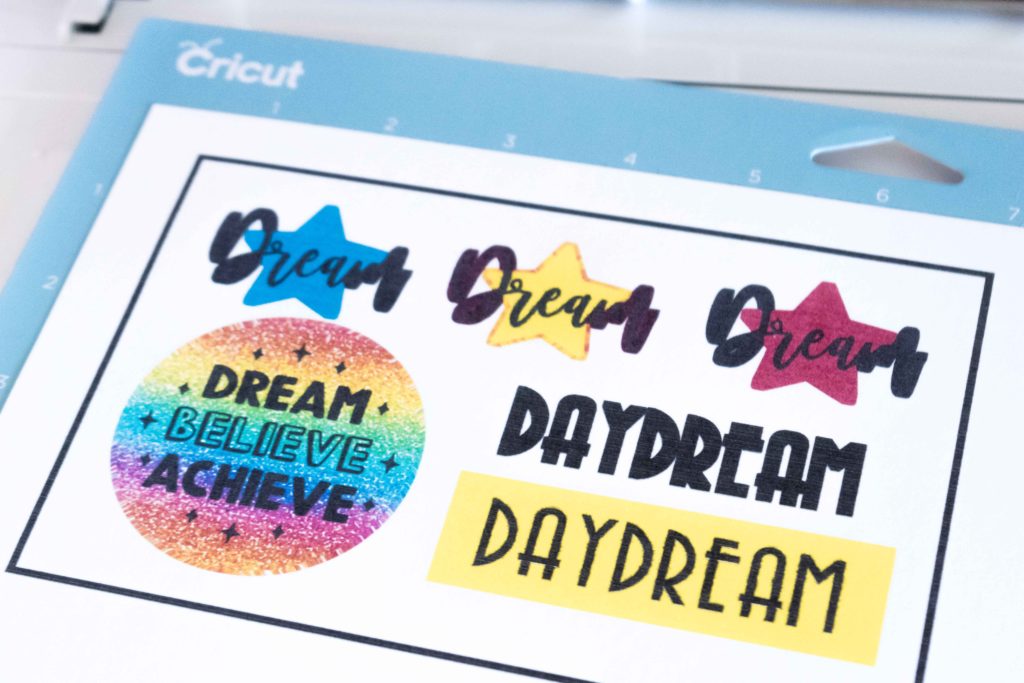
Cricut Print And Cut All You Need To Know Leap Of Faith Crafting from leapoffaithcrafting.com In the next menu pick the printer you plan on using with your machine, then hit print. Click send to printer, choose your printer, choose whether to add a bleed or not and click print. And then have the cricut cut it out. First things first, consider the size of your design. To cut printables, stickers, and other types of images, you need to use the print then cut setting. Then click the square next to the drop down menu and select your pattern. Printing an image using your cricut machine allows the machine to print out registration marks. The cricut then reads and then cuts out the perfect image.
The cricut print and cut feature is a combination of two different technologies and uses a printer to print images out which can then be cut using your cricut.
In the panel on the right, you will notice a printer with a red slash through it. Connect your computer to cricut design space and click make it at the top right of the screen. If you do not wish the background shape to print in color, change the color of the shape to white. Once printed, you will put the printed material on a cutting mat and load it into your cricut machine to cut it out. Print then cut with writing style images; Print and cut is the ability to take a flattened image and send it to printer. This indicates that the image is for print and cut. Select it and click 'continue'. Type in 'printable' and printable vinyl will appear. The cricut print and cut feature is a combination of two different technologies and uses a printer to print images out which can then be cut using your cricut. The machine will scan for the sensor marking then cut around the image with precision. There are a lot of amazing options in terms of printables on the market. Make sure you apply a good amount of pressure so that your design adheres well to the fabric.
Click send to printer, choose your printer, choose whether to add a bleed or not and click print. Print the page using your home printer, then place the paper on the cricut cutting mat and feed it to the cricut machine. Place your printable vinyl backing paper side down on your cricut mat. And if you click filter then check the printables box, you can see just the images that are ideal for print then cut, like these unicorns here. Printing an image using your cricut machine allows the machine to print out registration marks.
How To Print Then Cut With Your Cricut Ultimate Tutorial Daydream Into Reality from s6n3j7c2.rocketcdn.me The cricut joy does not support this feature.; Print and cut is a function that allows you to print your images, then cut around them. The cricut then reads and then cuts out the perfect image. You can in the layers panel that it has been flattened and is all one layer. Make sure you apply a good amount of pressure so that your design adheres well to the fabric. First, you'll start by opening up design space to a new canvas or by clicking new project in the upper right corner if you've already been working in it. Here in cricut design space, we have our design. This indicates that the image is for print and cut.
The cricut print and cut feature is a combination of two different technologies and uses a printer to print images out which can then be cut using your cricut.
The cricut print and cut feature is a combination of two different technologies and uses a printer to print images out which can then be cut using your cricut. To add a fill, select print from the fill drop down menu in the top menu bar. If your cricut cuts slightly off, adding a bleed can help. Connect your computer to cricut design space and click make it at the top right of the screen. When you have an element or design set to print then cut, design space will send it to your home printer first, and then it will cut it. Select it and click 'continue'. Cricut joy can cut and draw only. You can in the layers panel that it has been flattened and is all one layer. There is no need to format it, it is ready to go. And then have the cricut cut it out. Press the cricut logo on the machine to start cutting. Cricut explore tutorialthis tutorial shows how to use the print and cut function in cricut design space 3. (i like to use the blue lightgrip mat for cardstock) and load into your machine as you would when you cut anything else.